Hotline:
0373398986
Email:
info@5bib.com
1. CREATE GROUP
2. MANAGE GROUP
3. REGISTER GROUP TICKET
4. CHECK PAYMENT STATUS
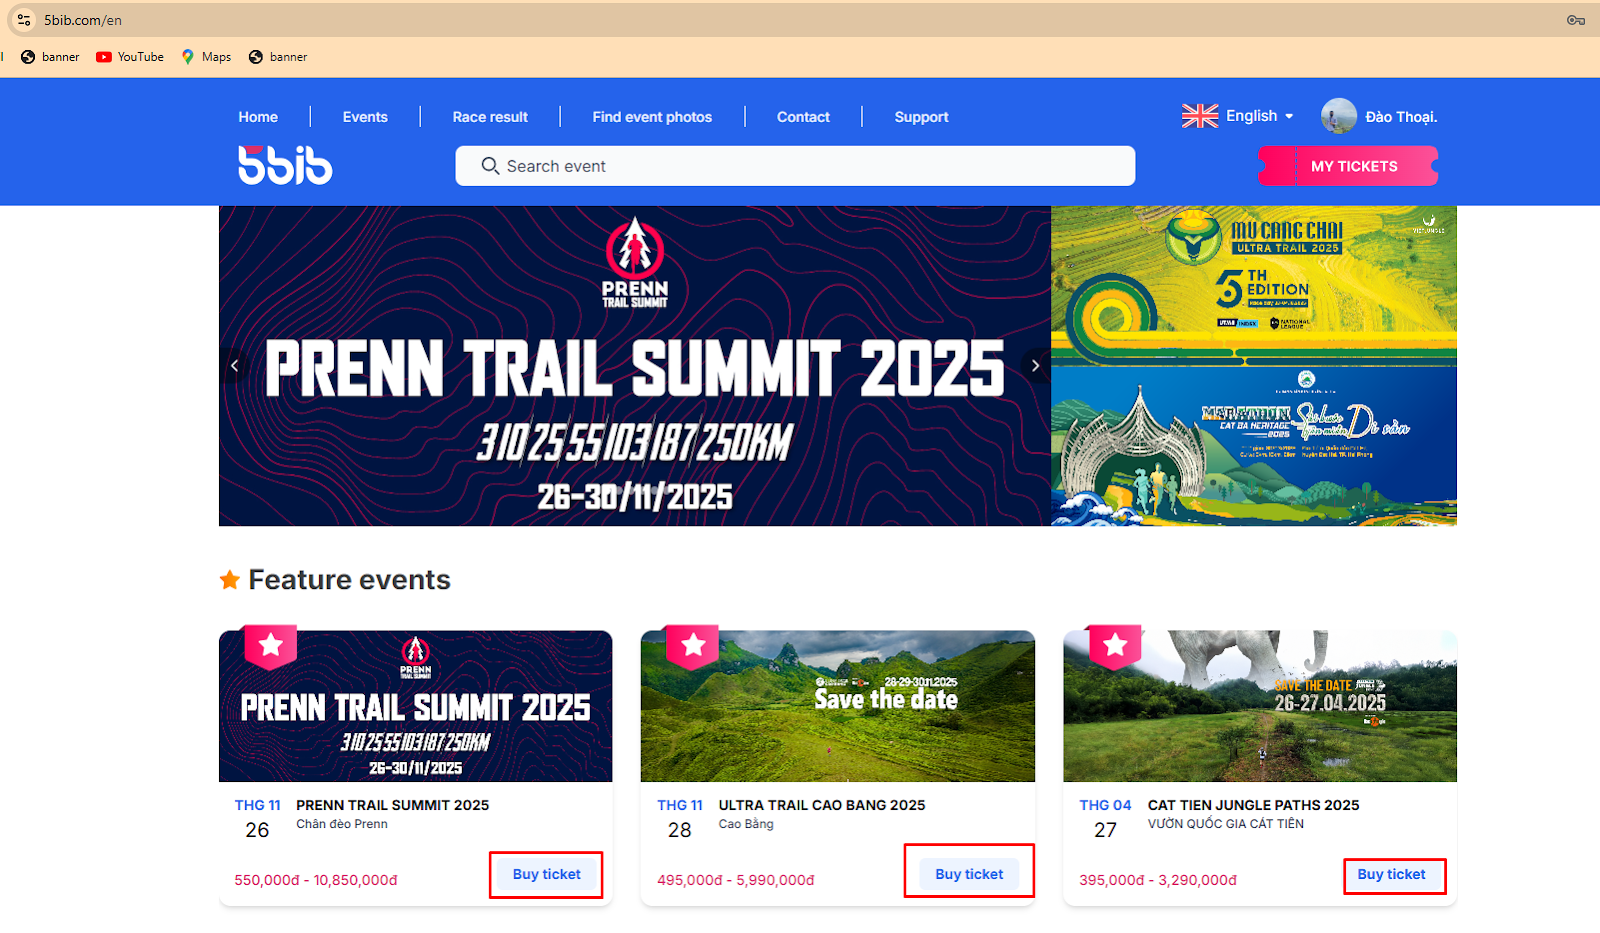
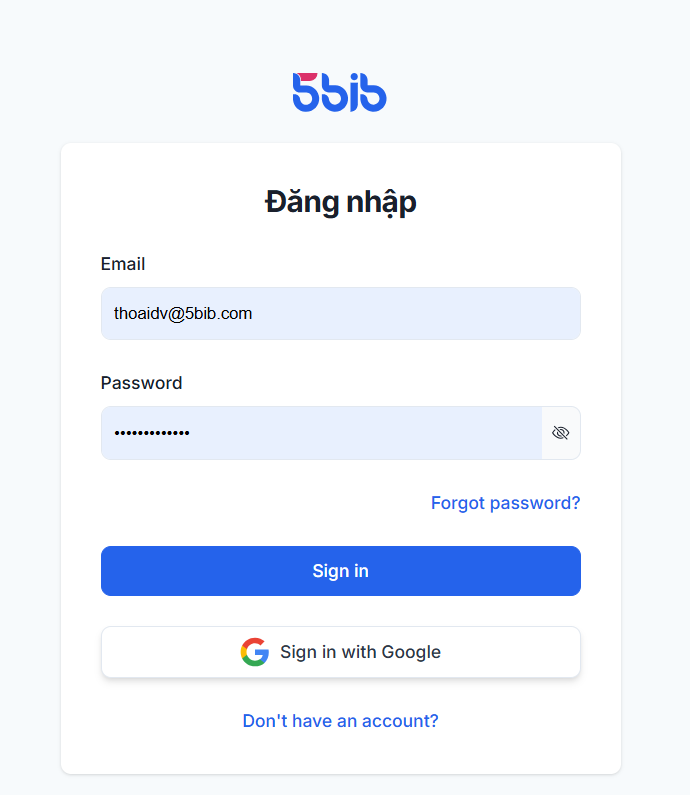
Step 1: Visit the website 5bib.com.
Step 2: After logging in, click on [buy Tickets]
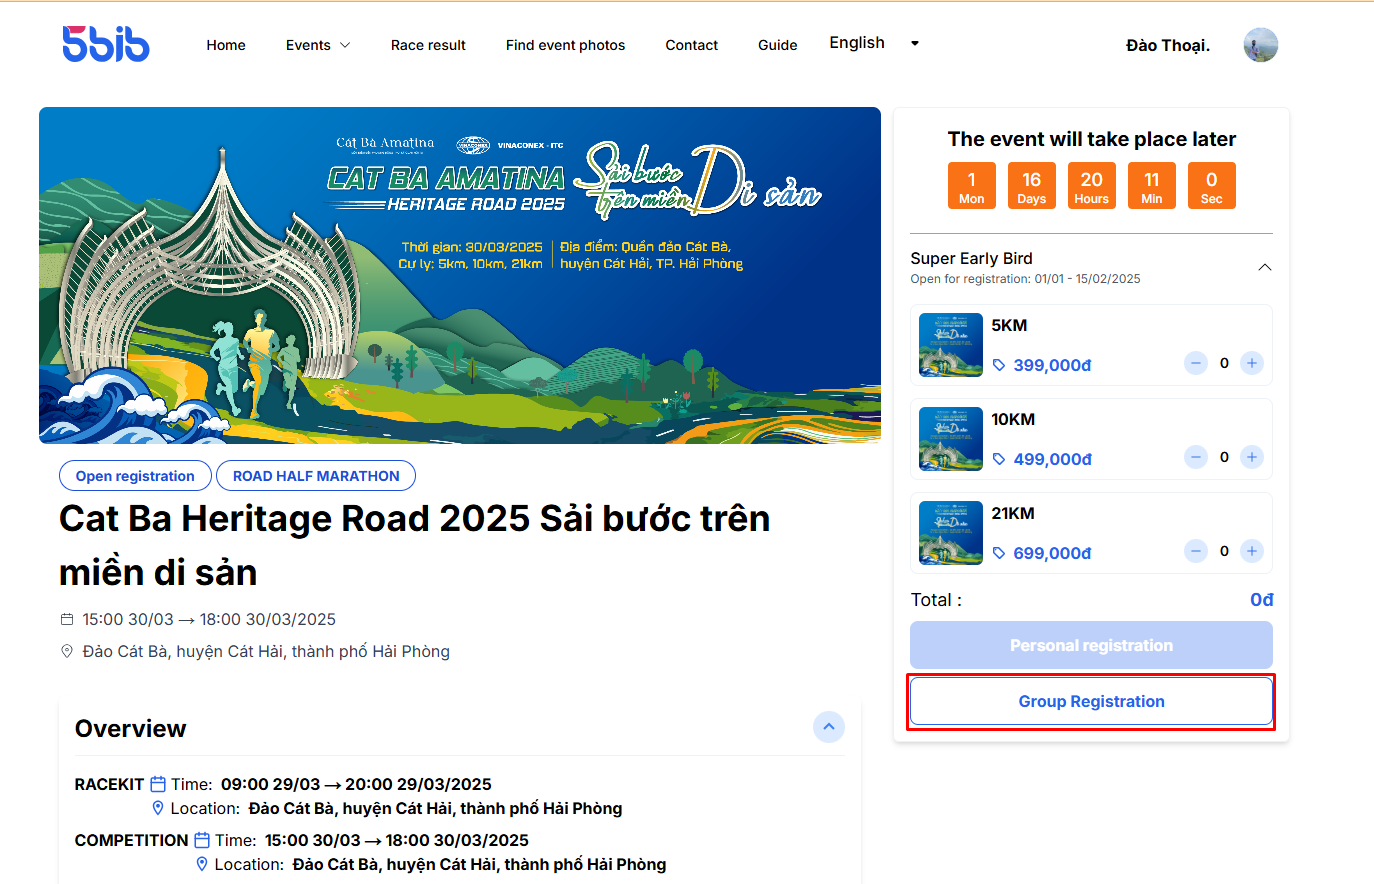
Step 3: On the event screen, select [Group Registration].
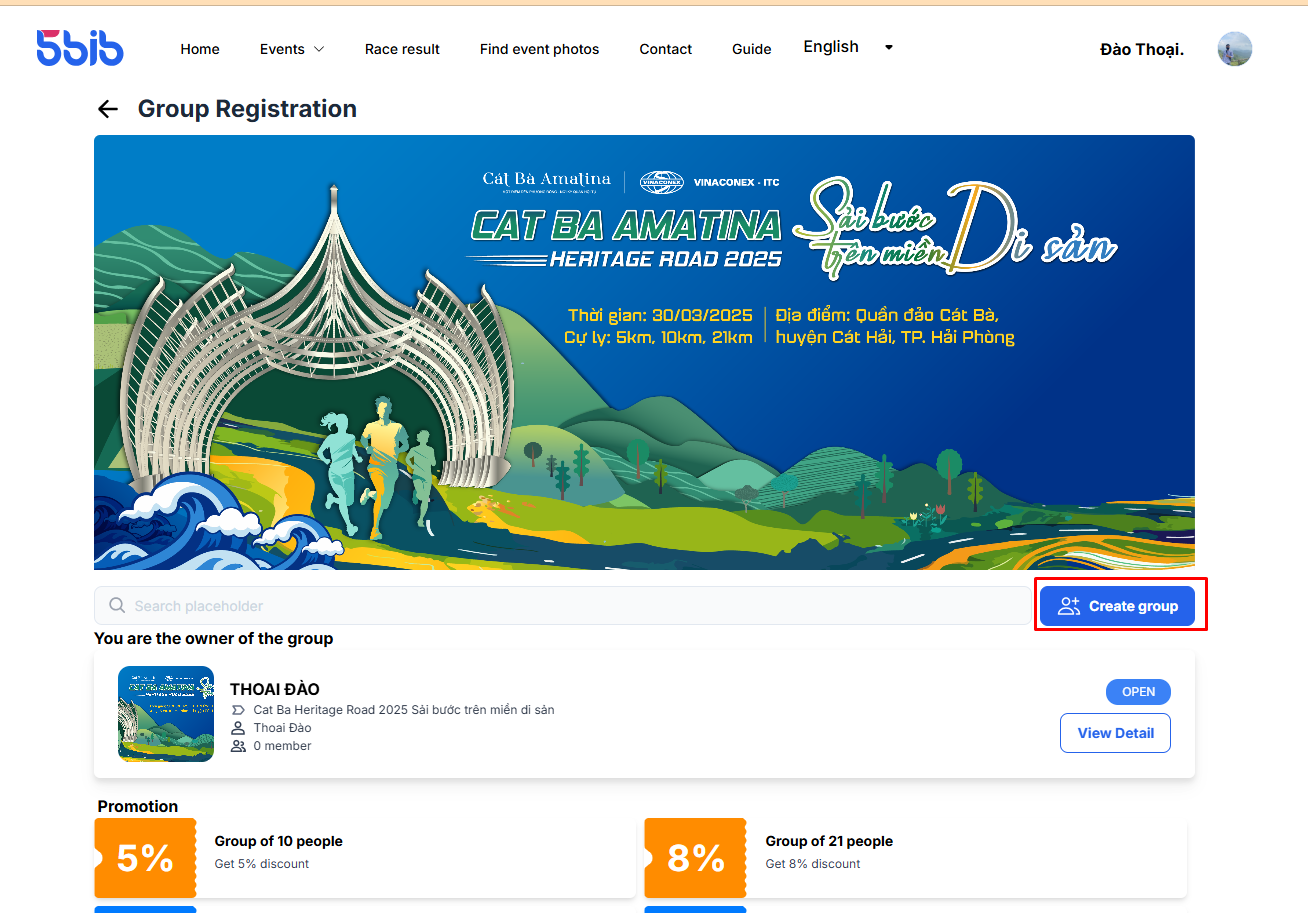
Step 4: On the group purchase screen, click [Create Group].
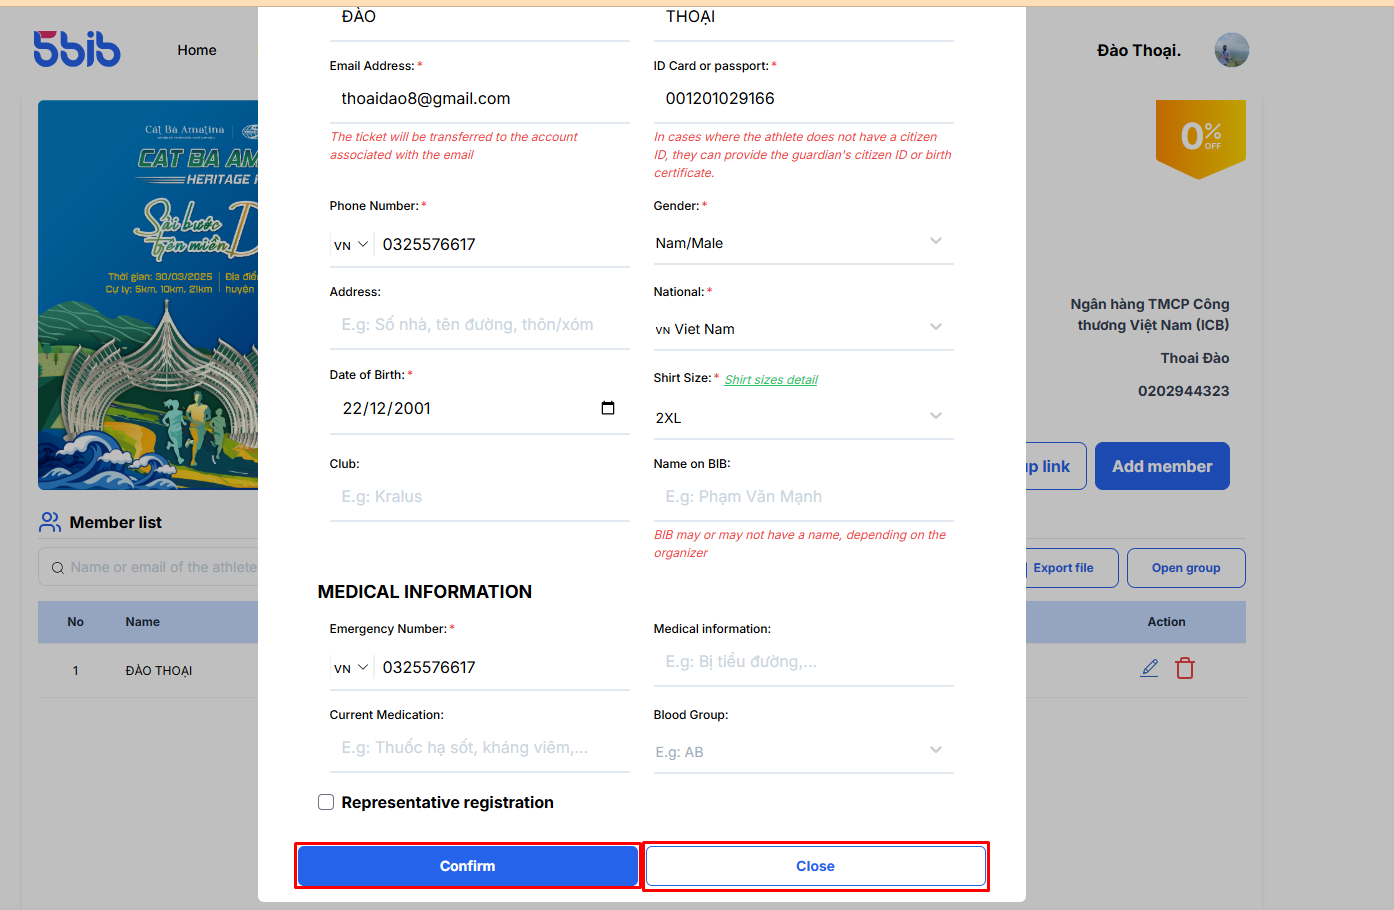
Step 5: Fill in all the required information to create a group, then click [Confirm] to complete the group creation.
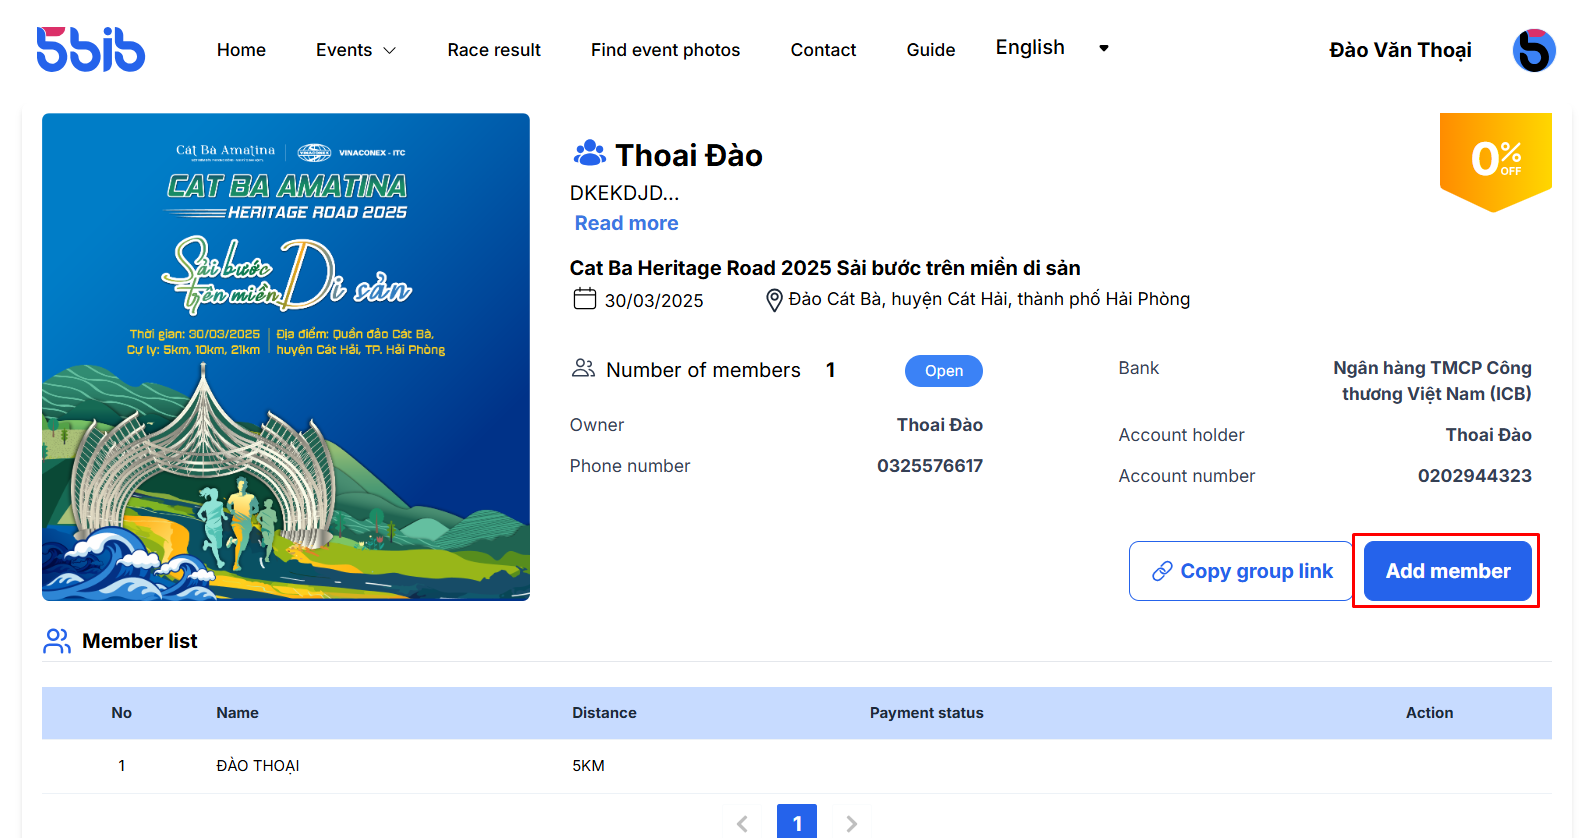
Add Members
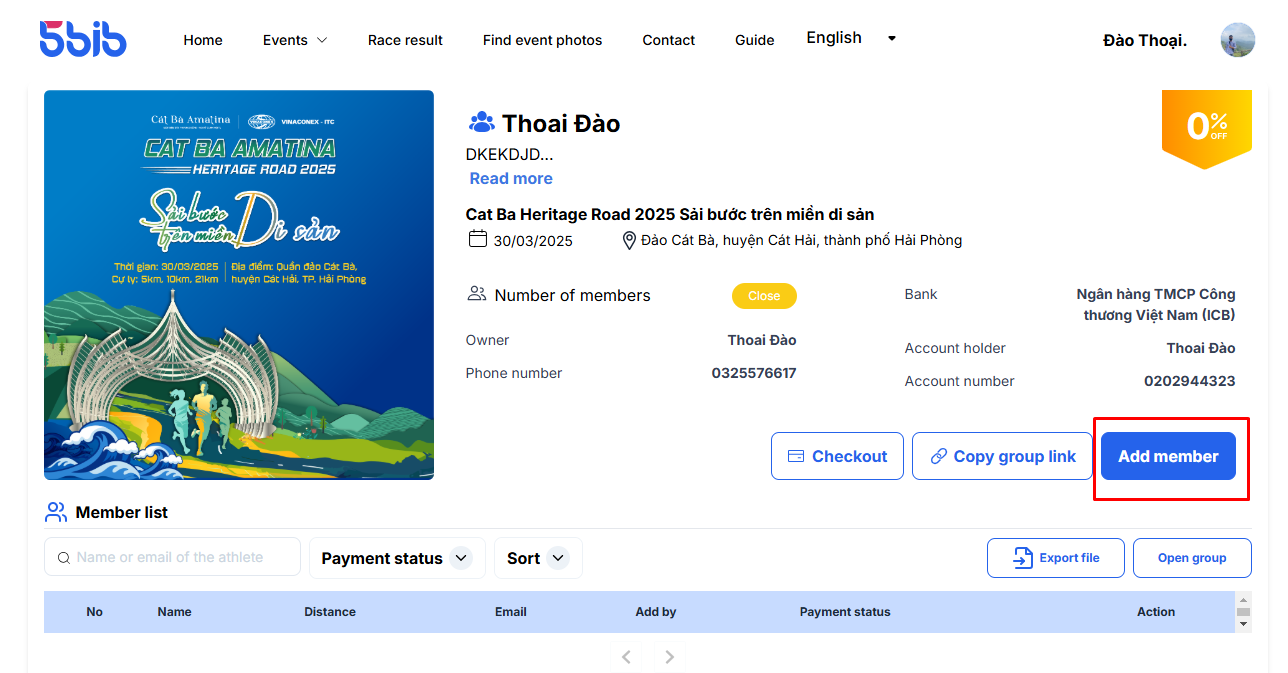
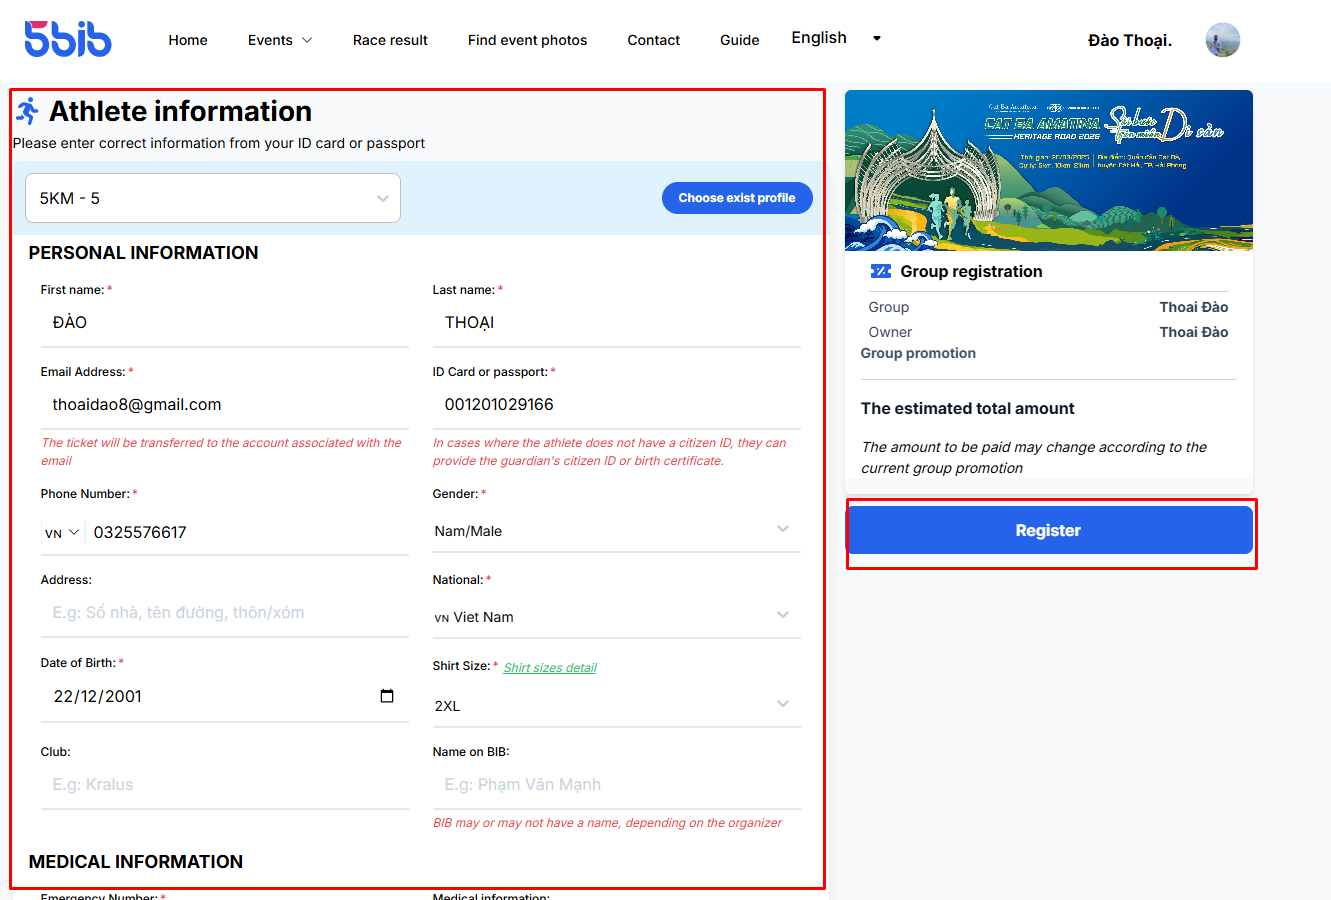
Step 1: On the group screen, click [Add Members].
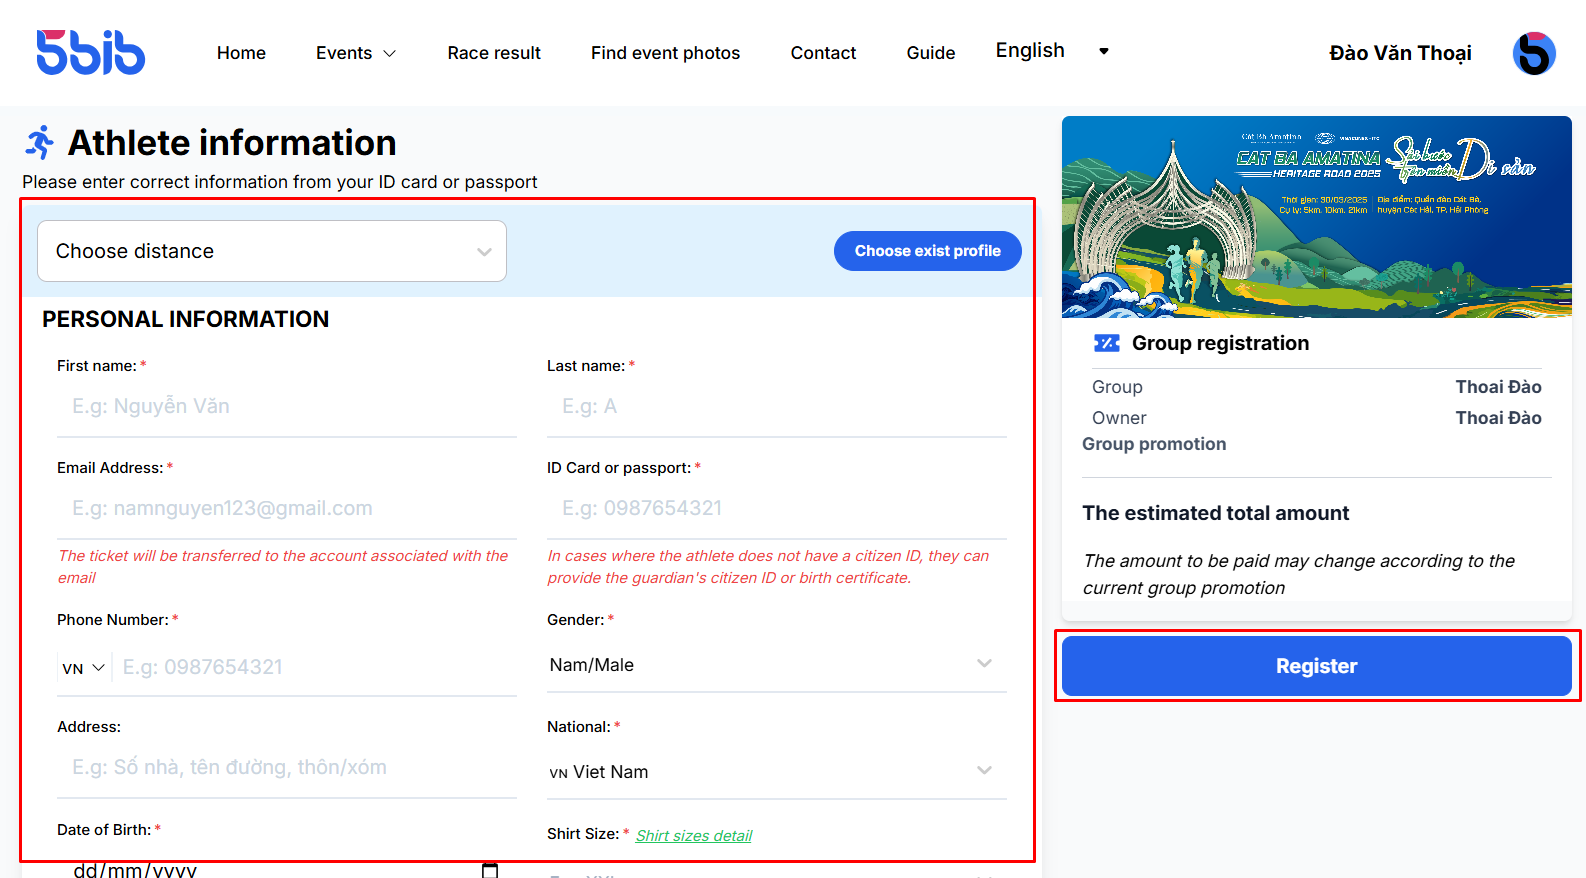
Step 2: Enter the required personal information, select the race distance, or choose an existing profile (if available or create a new one). After entering the information, click [Register].
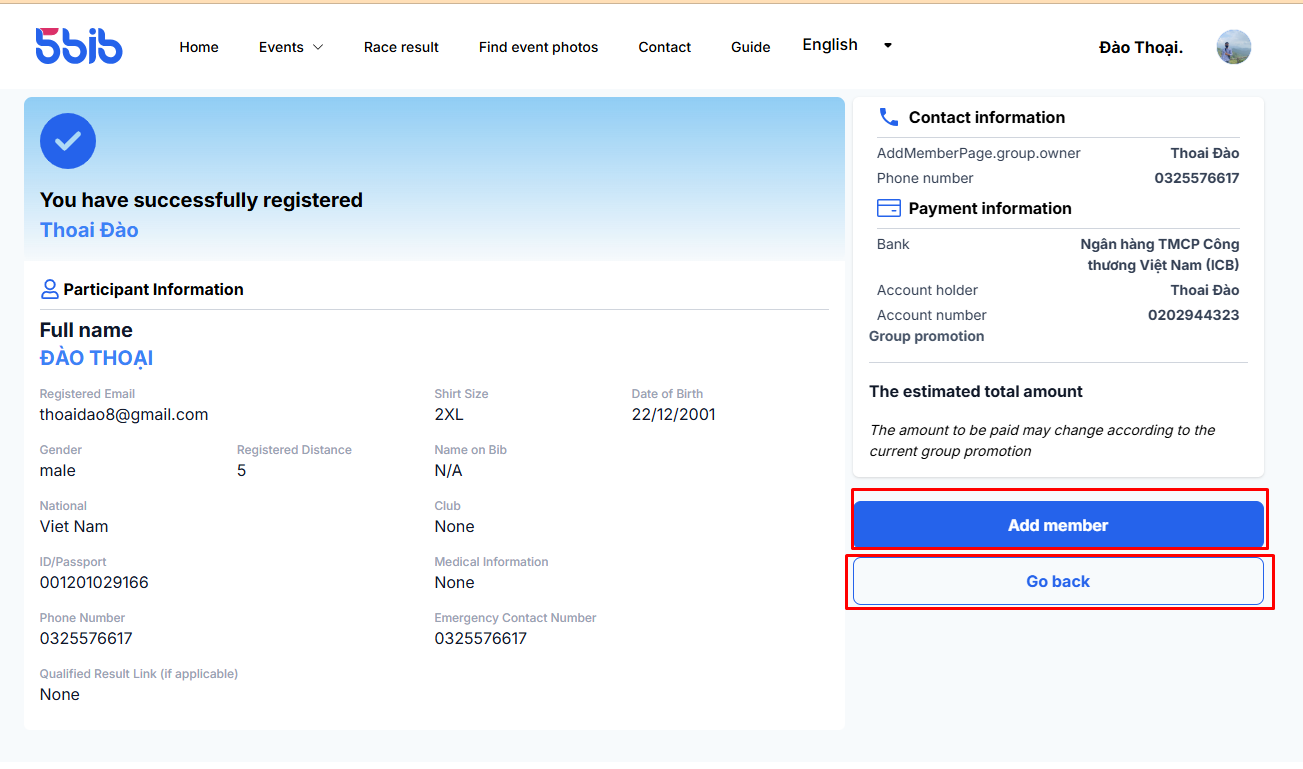
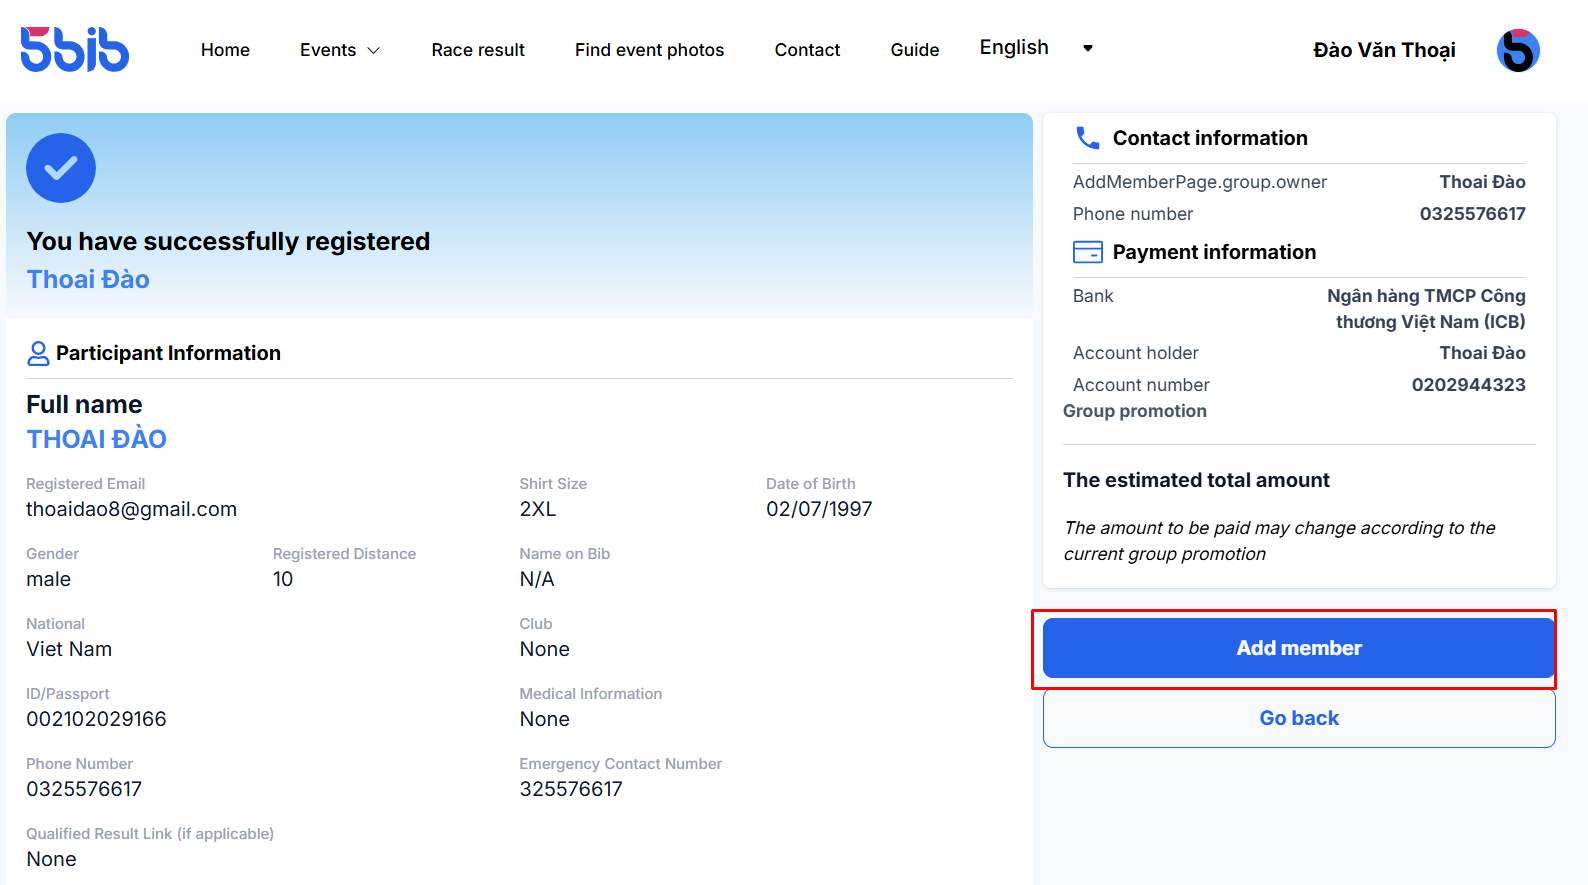
Step 3: Once registered, a success screen will appear. You can then click [Add Members] to continue adding or [Go Back] to return to the group.
Edit Athlete Information
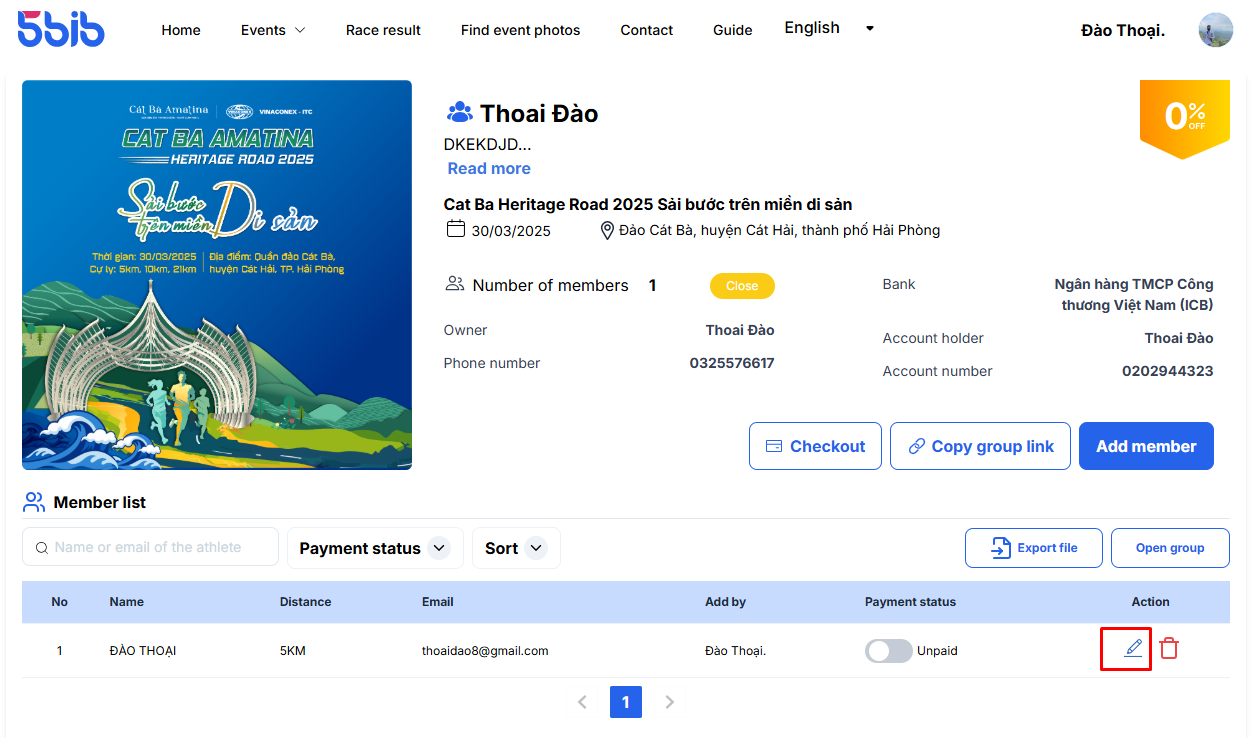
Step 1: On the group member list screen, click the blue pencil icon to edit a member’s details.
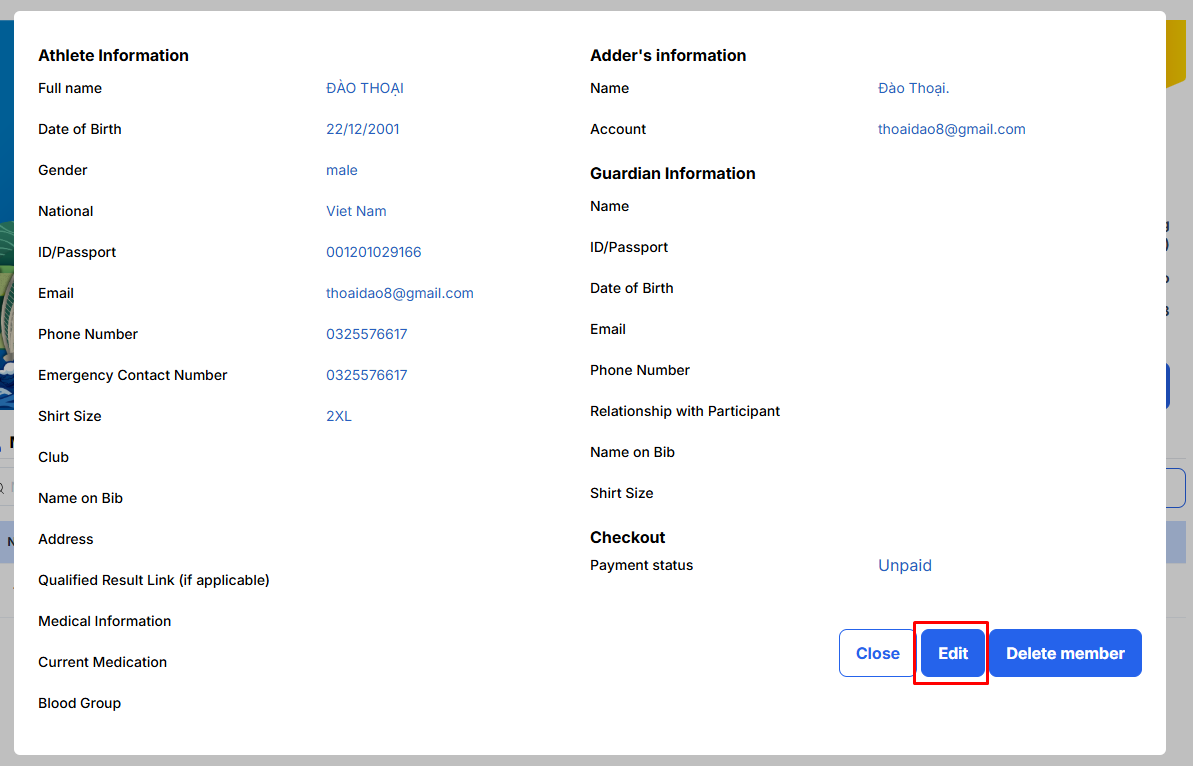
Step 2: The member’s information will appear. Click [Edit].
Step 3: Update the necessary information, then click [Confirm] to save the changes.
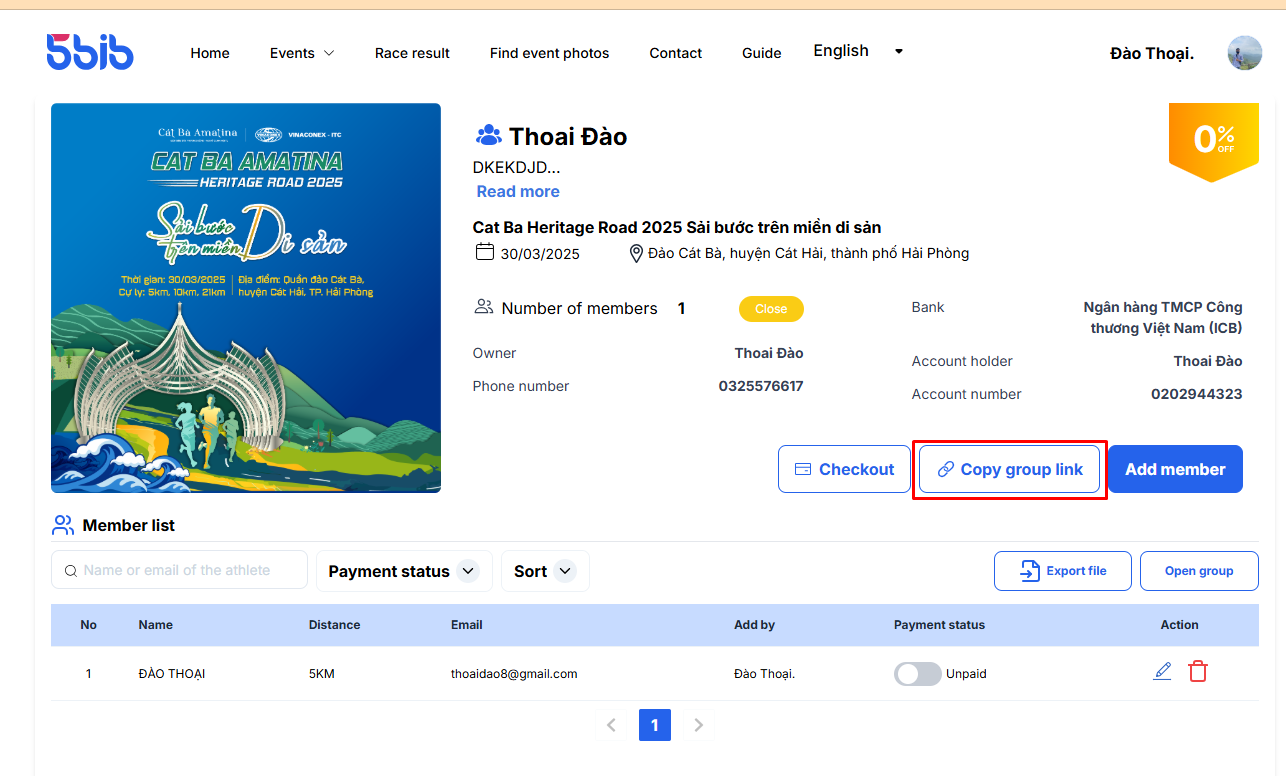
Share Group Link
On the group screen, click [Copy Group Link] and send it to members who wish to join the group.
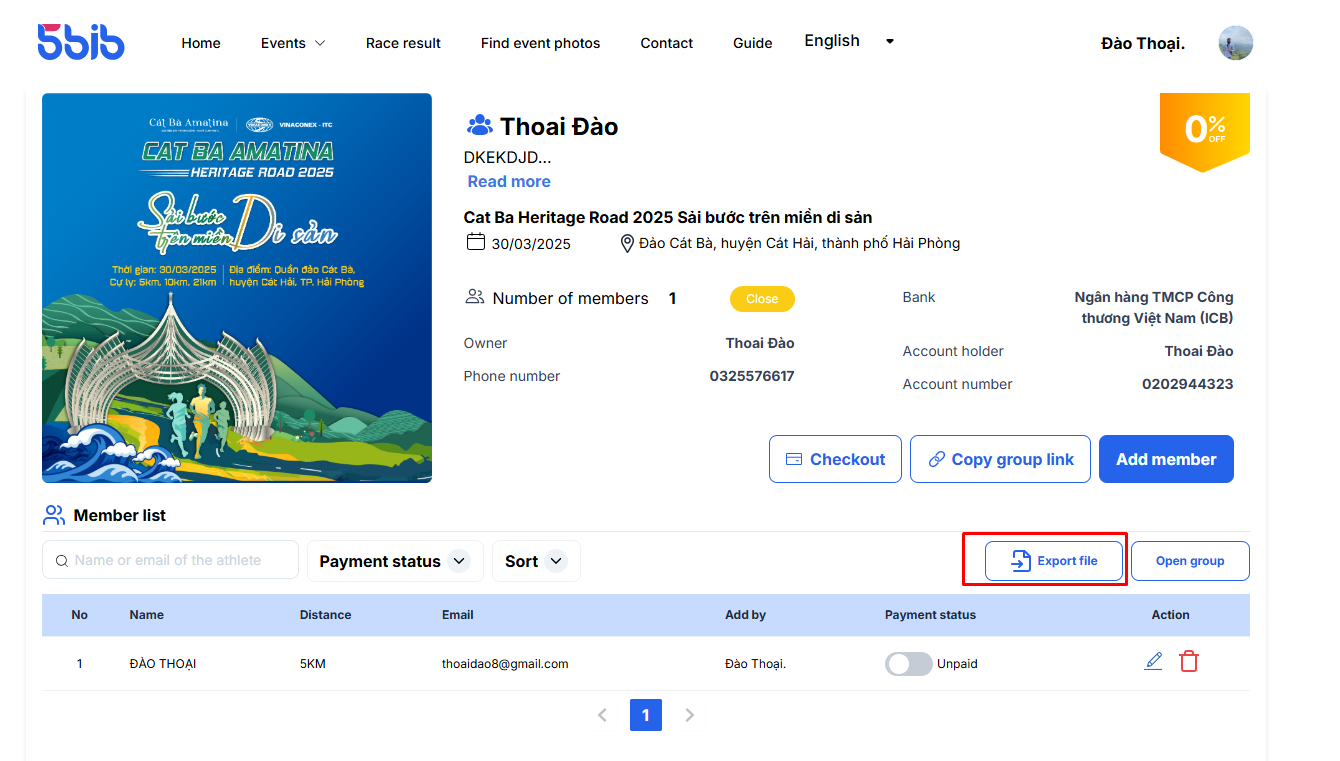
Export Group Data
Export the list of registered members:
On the group screen, click [Export File].
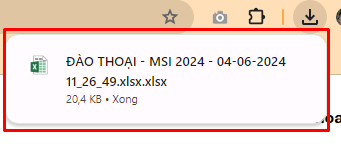
After clicking, the file will be downloaded to your device.
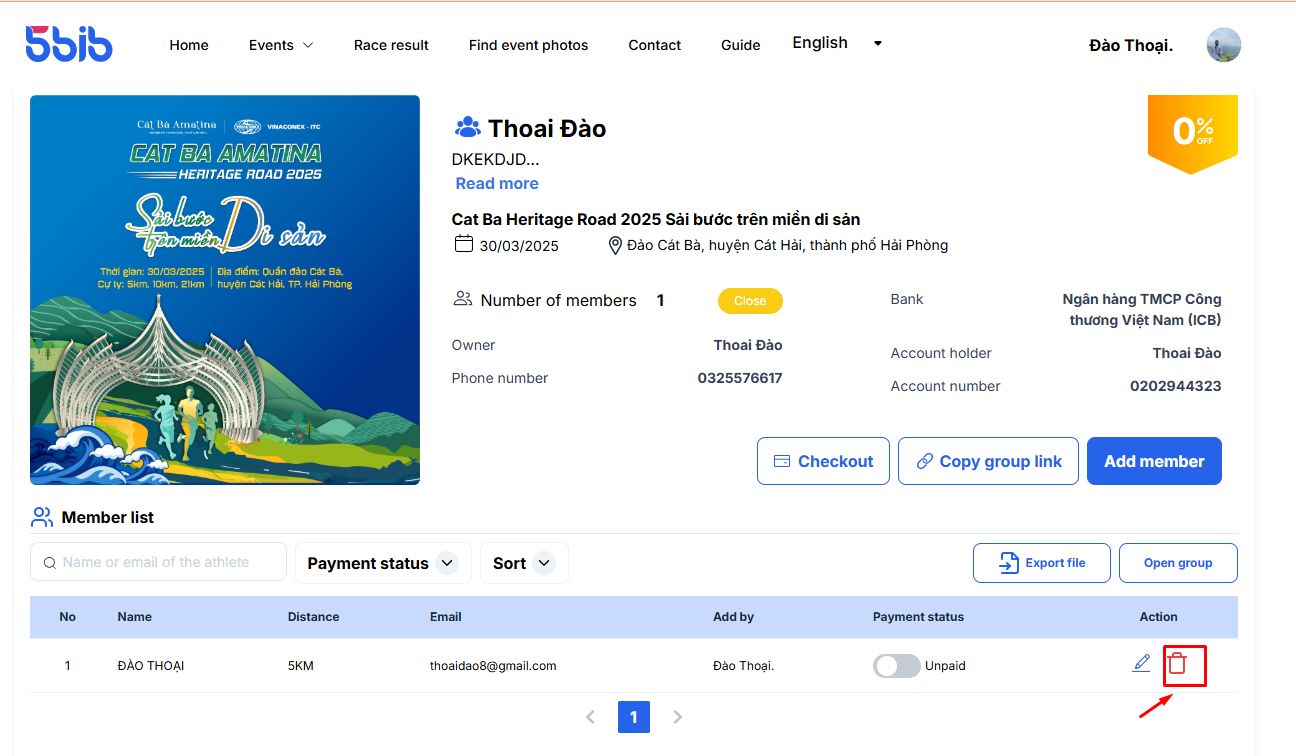
Remove a Member
On the group screen, click the red trash bin icon next to the member you want to remove.
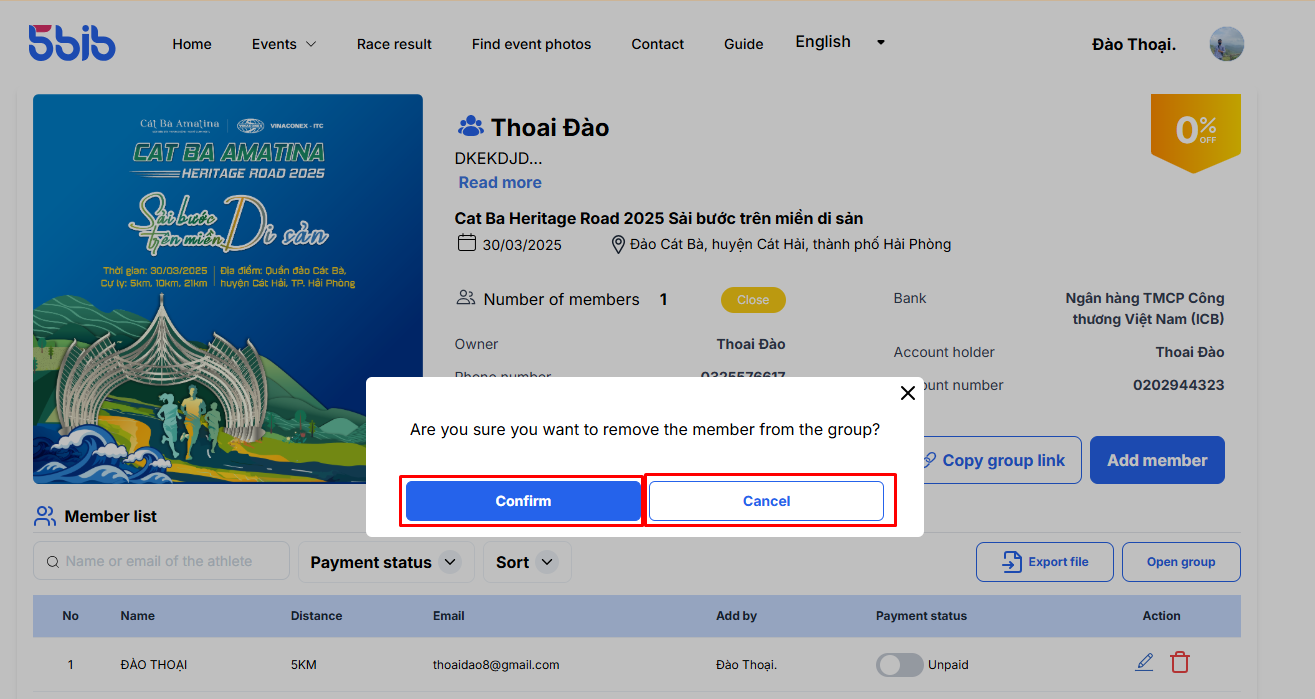
Then, click [Confirm] to delete or [Cancel] to keep the member.
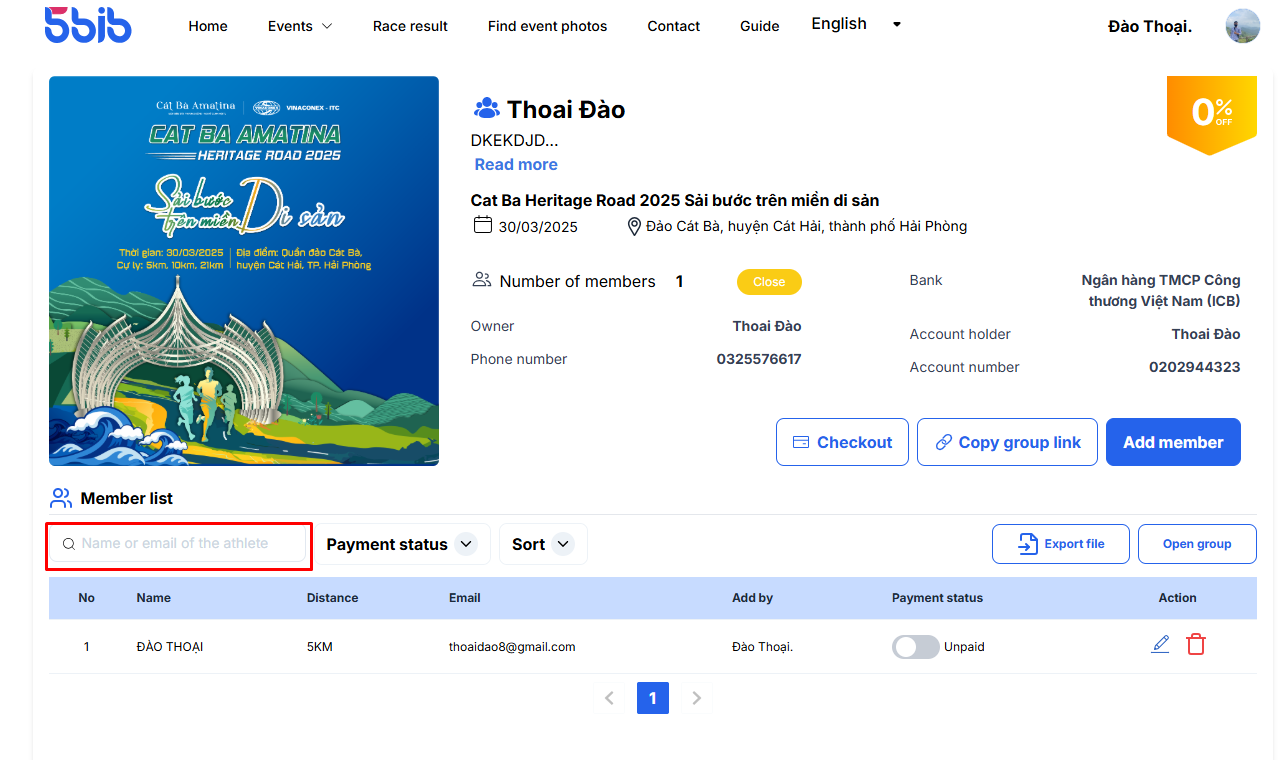
Search for a Member
On the group screen, use the search bar to enter the member’s name or email to find them.
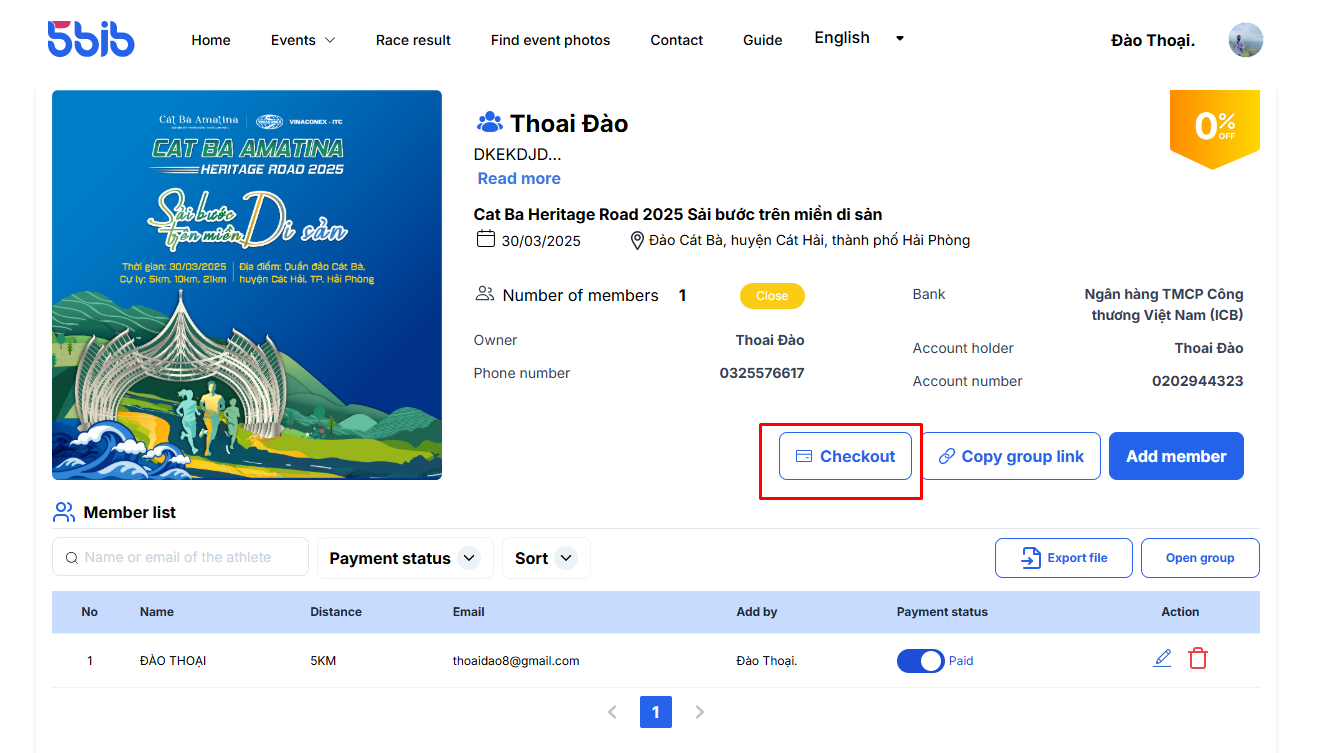
Payment
Condition: All members must have a "Paid" status, and the group must be closed.
On the group screen, click [UnPaid] for each member.
Click [Checkout] to proceed.
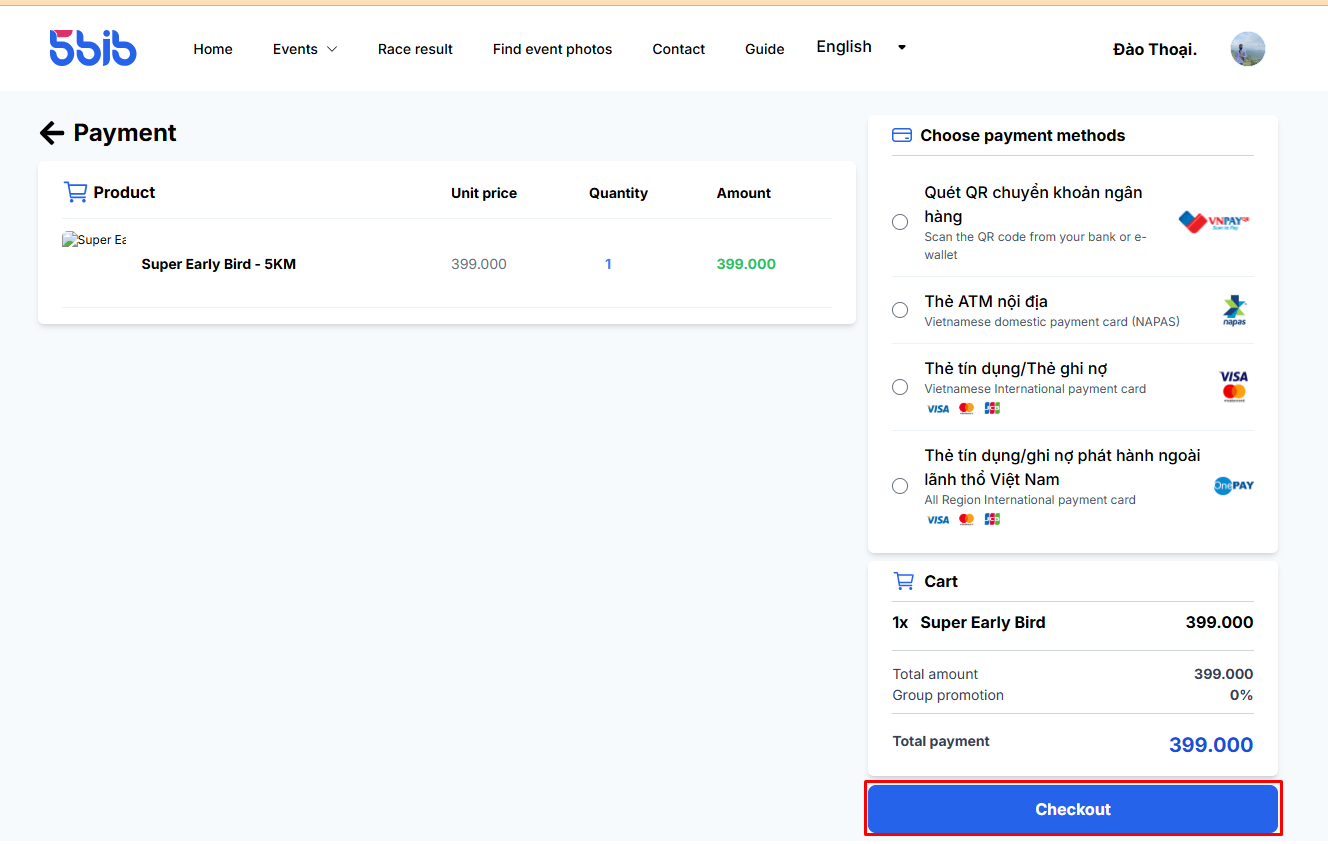
Then, choose a Payment Method and click [Checkout].
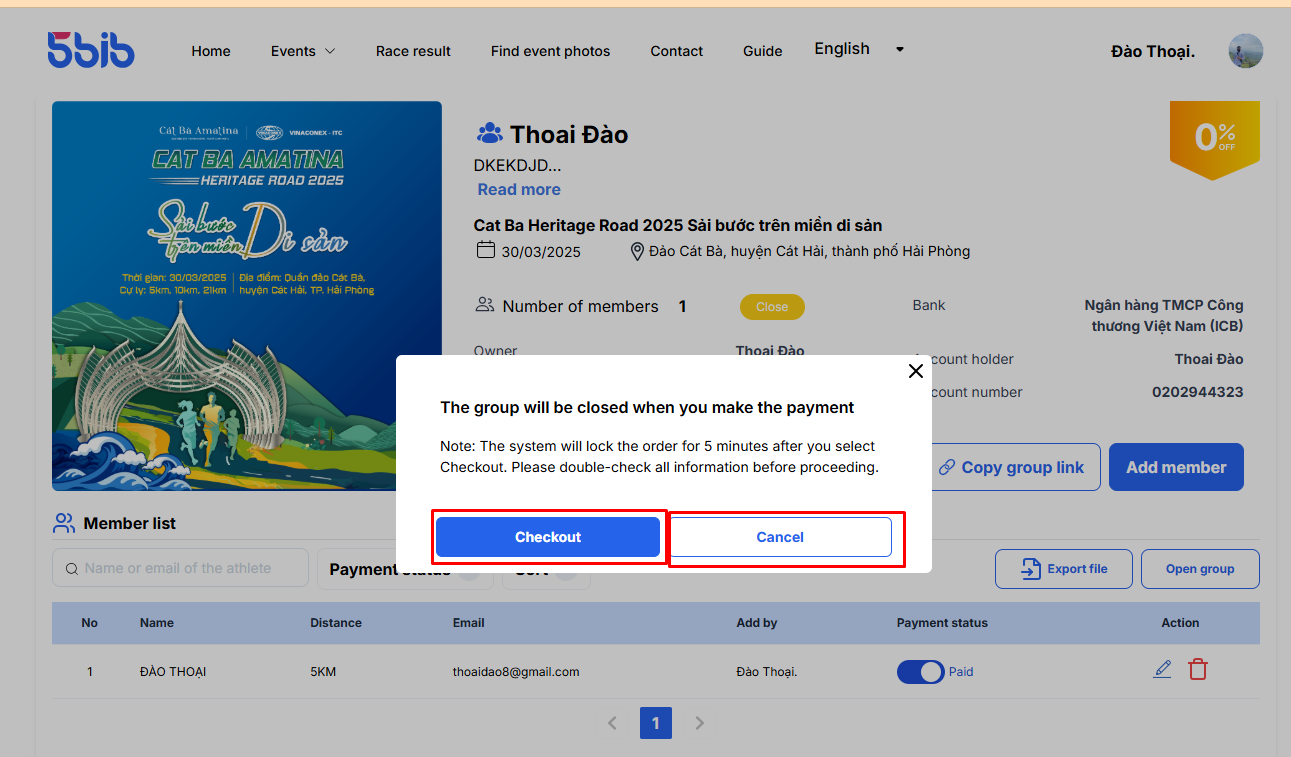
If needed, you can click [Cancel] to abort the payment, Once the payment is completed, the group will be closed.
Then, select [Payment Method] and click [Checkout].
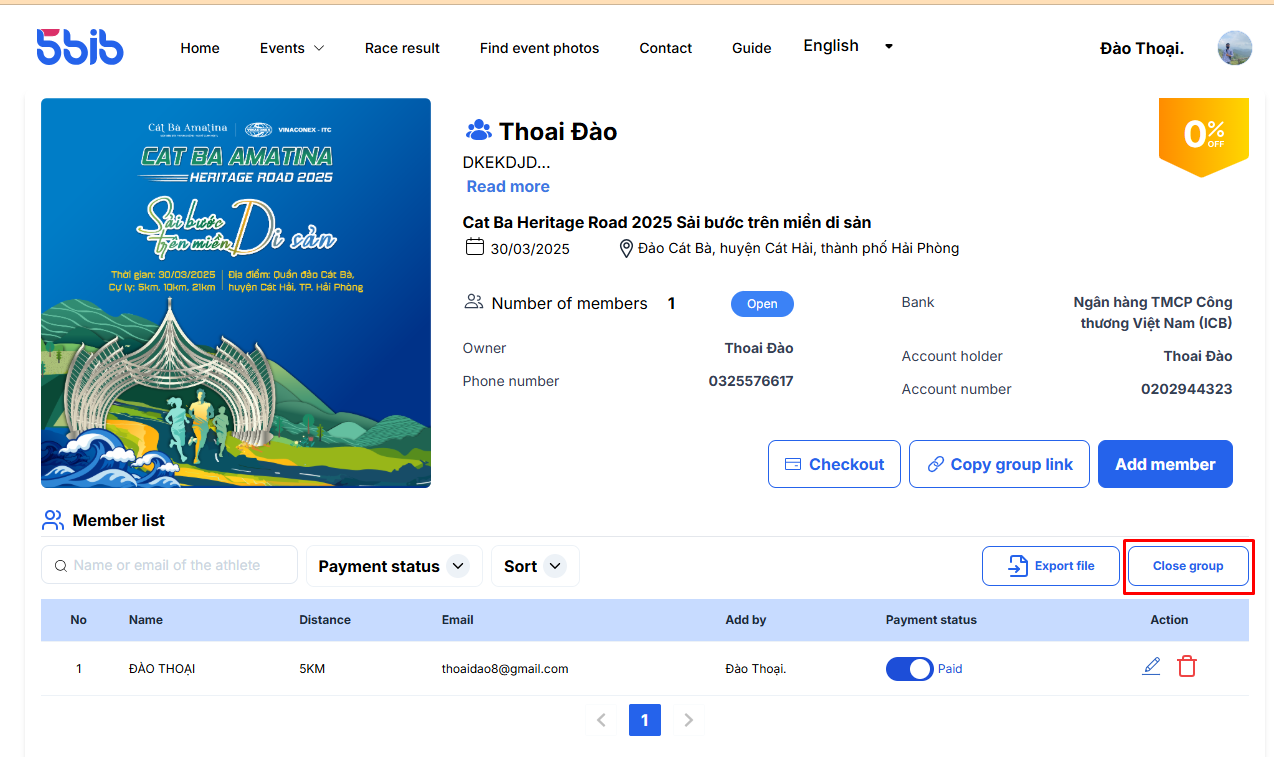
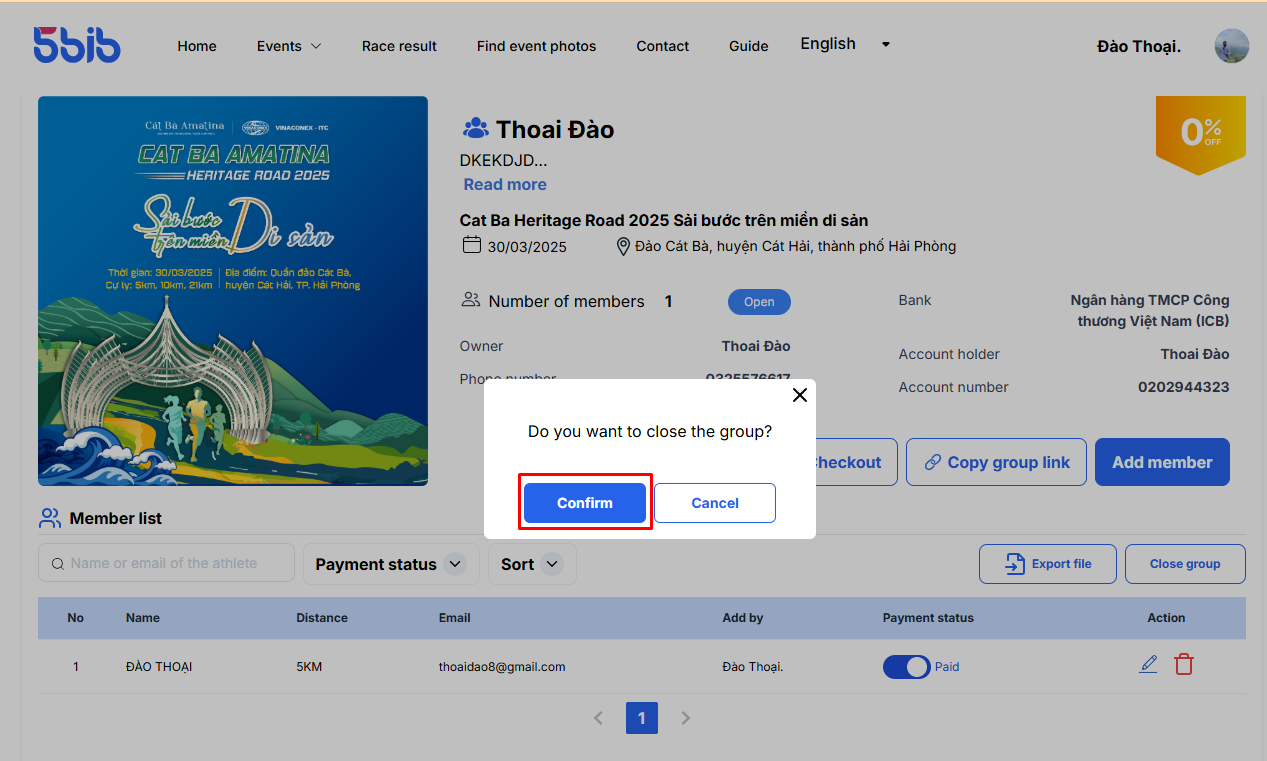
Close Group
Close the group when you no longer want to accept new members.
On the group screen, click [Close Group], then confirm by selecting [Confirm] or [Cancel].
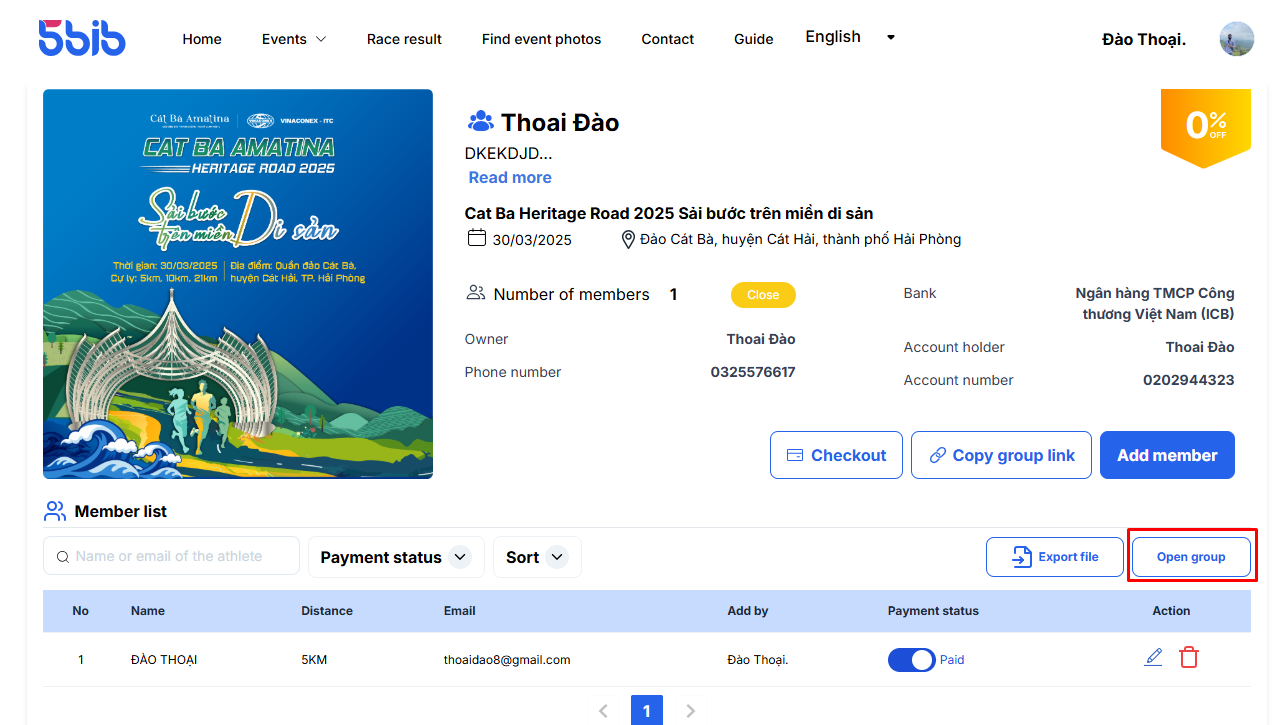
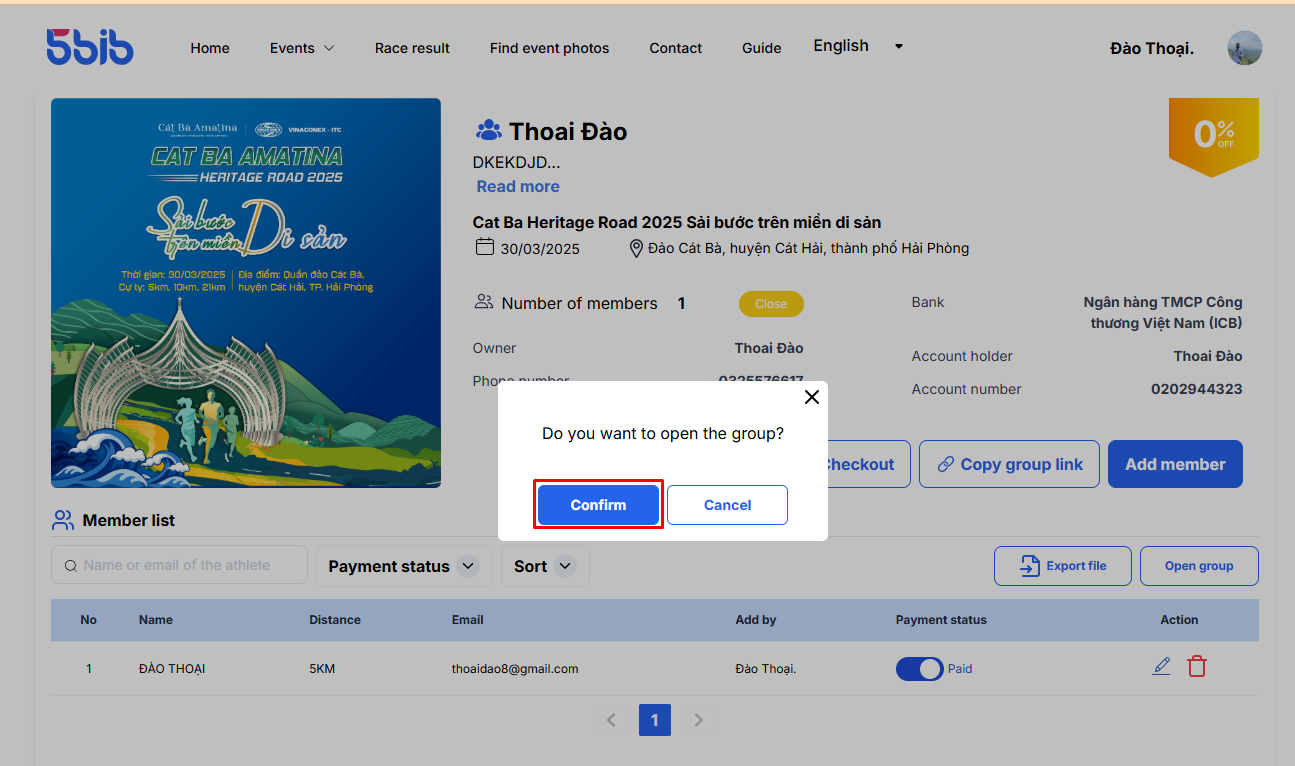
Open Group
Reopen the group if you want to accept new members.
On the group screen, click [Open Group], then confirm by selecting [Confirm] or [Cancel].
Step 1: Access the registration link sent by the group leader or a group member.
Step 2: Log in.
Step 3: Enter participant information and click [Add Member] (only if the group leader has opened the group).
Step 4: If the group has a password, enter it and click [Continue].
Step 5: Review personal registration details, then click [Register]. You can then choose [Add Member] or return to the Main Screen.
Step 6: Complete ticket payment (if not already paid by the group leader).
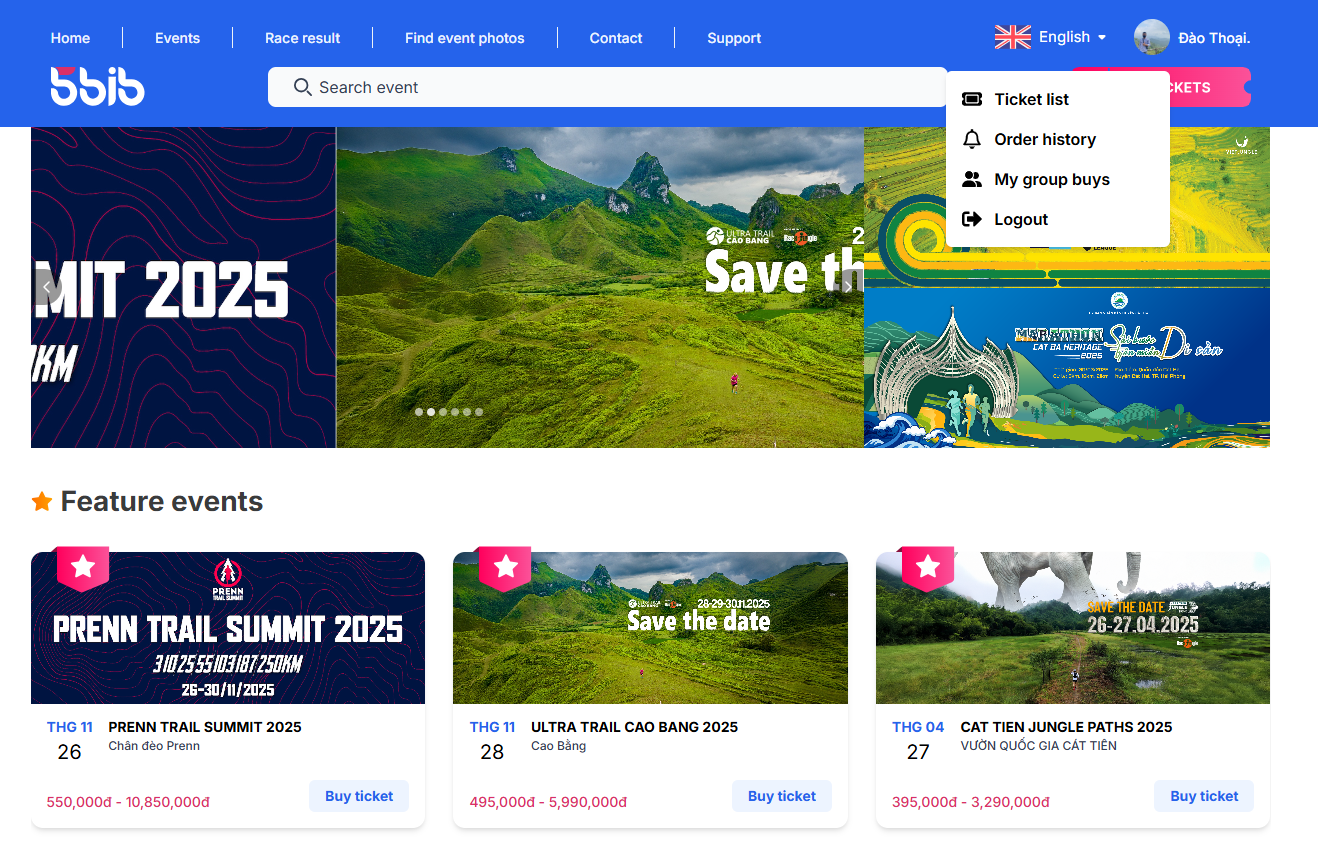
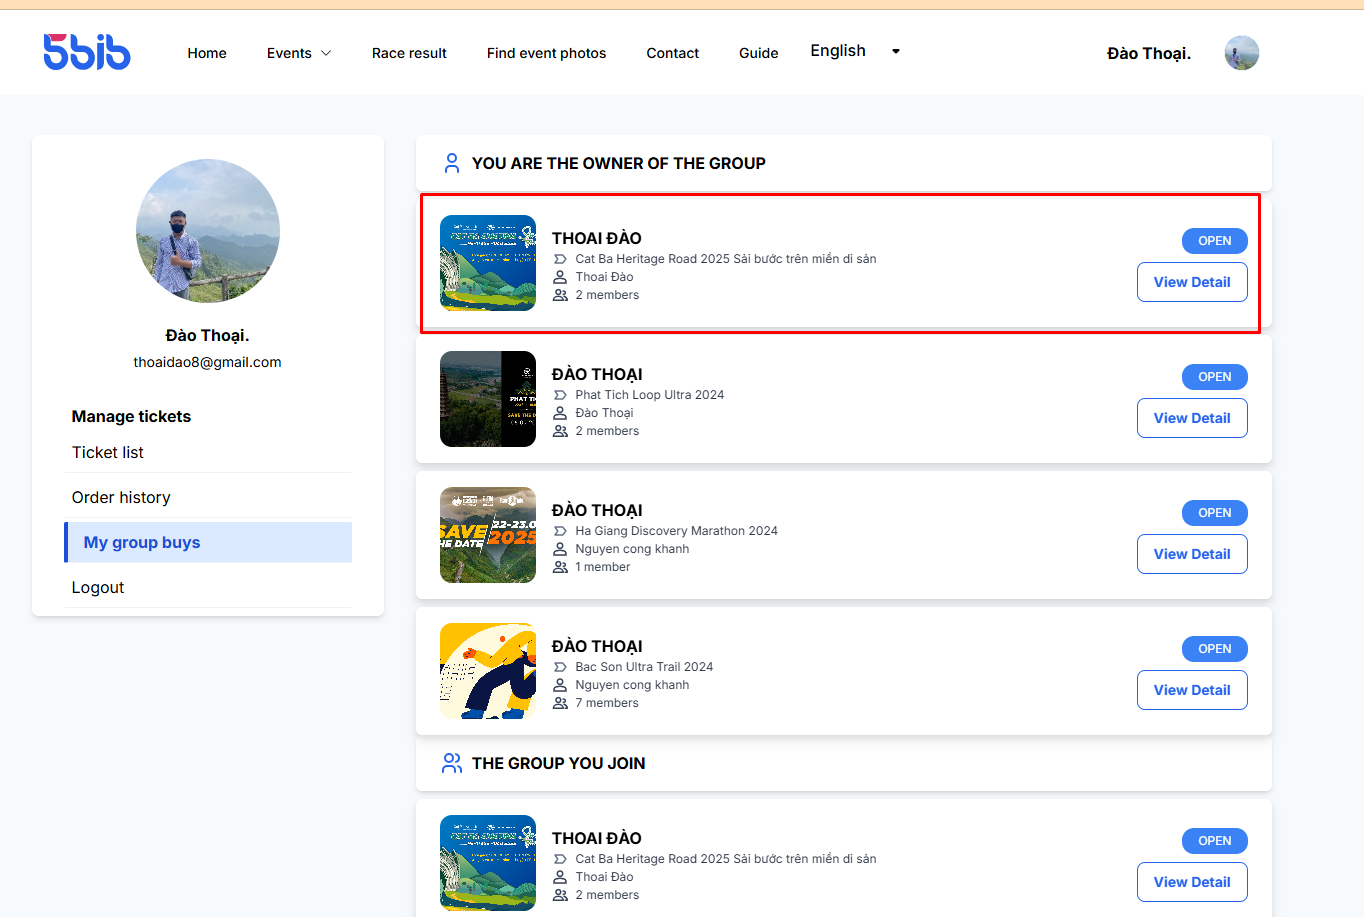
Step 1: Click the avatar icon in the top right corner to view My Group buys.
Step 2: Select a group from the list.
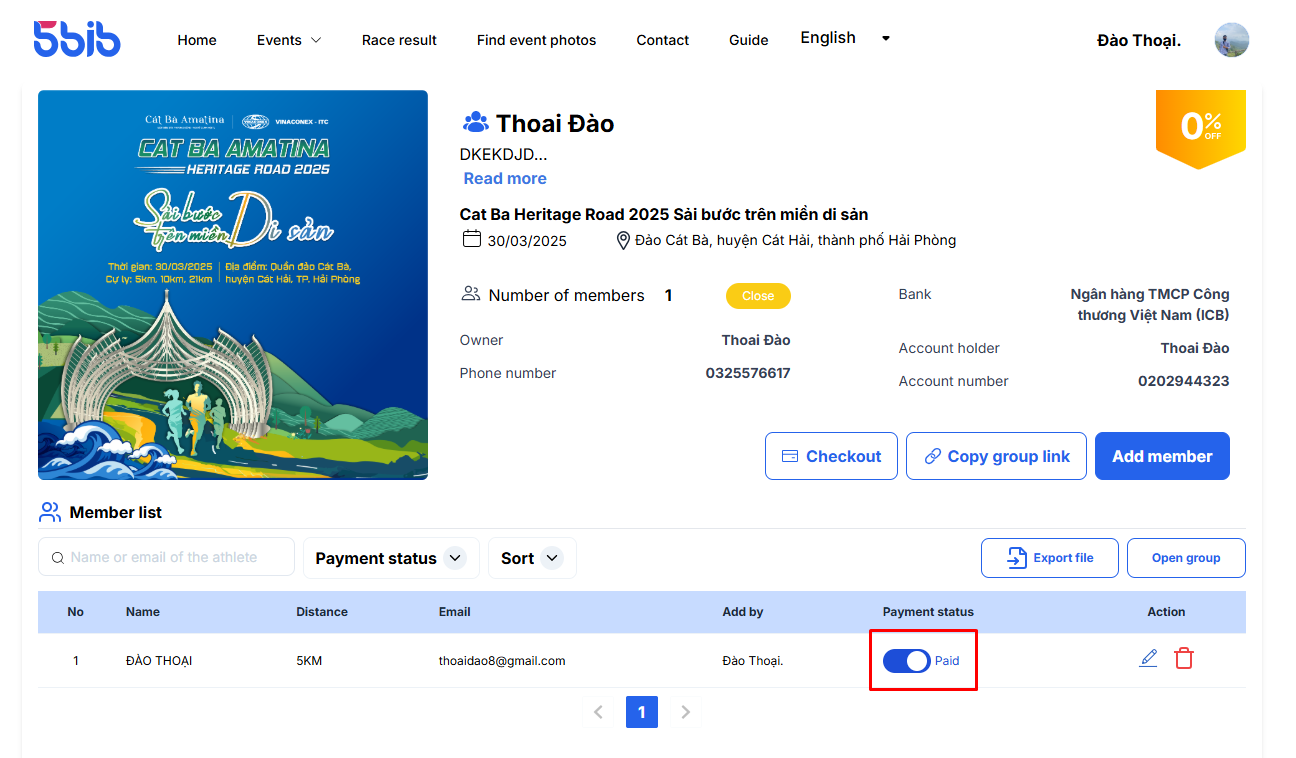
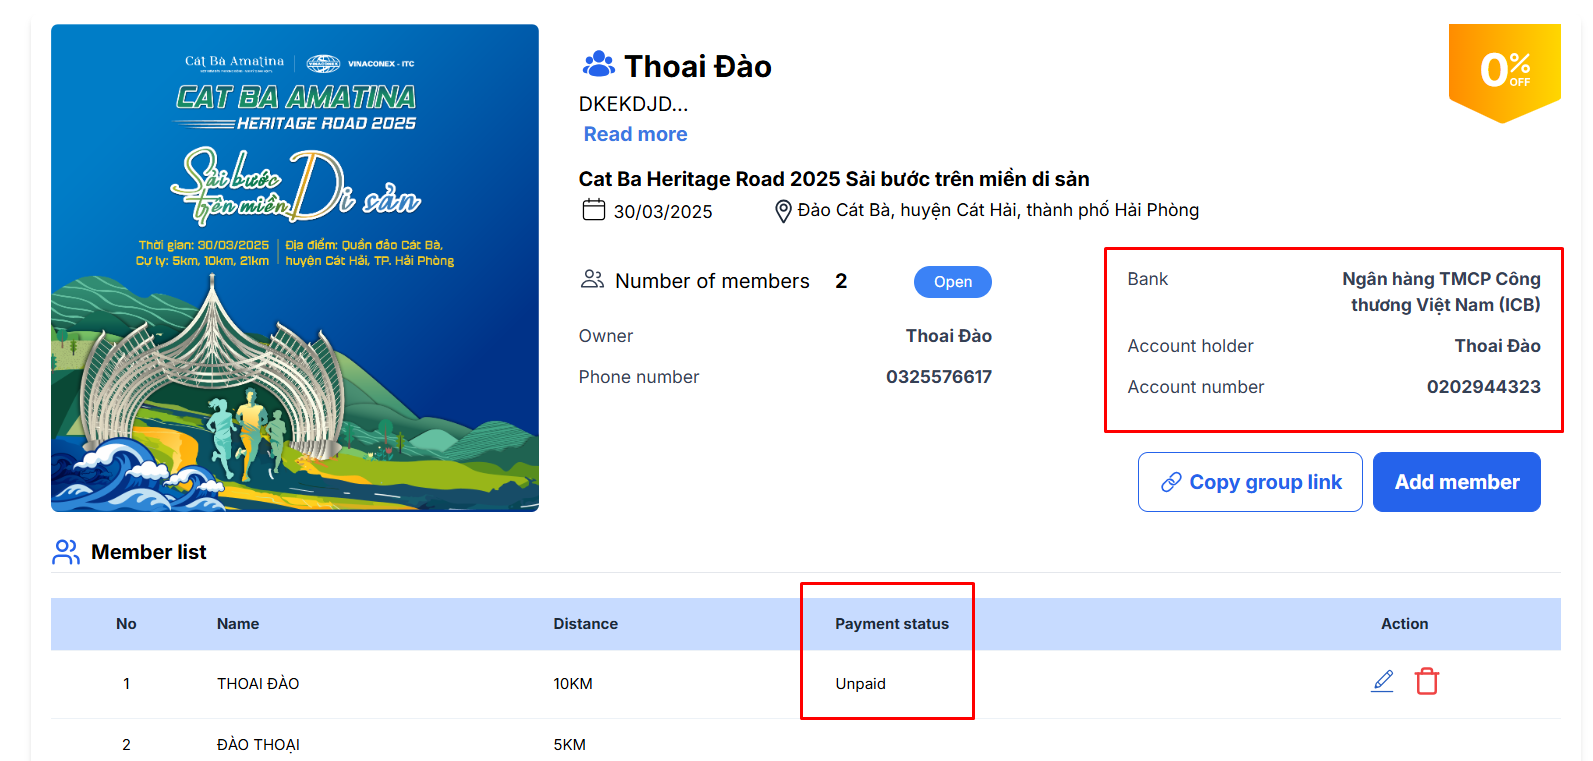
Step 3: On the group screen, the group leader can check the payment status of each member and mark them as [Paid] or [Unpaid].