Hotline:
0373398986
Email:
info@5bib.com
Within one week before the event, the system will open the check-in portal, and an email will be sent to users (for those who purchased tickets through the system or registered if the ticket was purchased through a third party).
You can sign the waiver on both the 5bib.com website and the 5bib app.
Note: Once the waiver is signed, the information cannot be changed.
Step 1: Visit the website 5bib.com
Step 2: After logging in to 5bib.com, click on [My Tickets] in the top right corner.
Step 3: Select the ticket pending confirmation (waiver signing), then click [Sign e- Waiver].
Step 4: Review your registered information and click [Confirm] to proceed.
Step 5: Carefully read the terms of the waiver agreement, select Agree, then use your mouse, finger, or stylus to sign. Click Save Signature, then select Confirm to complete the process.
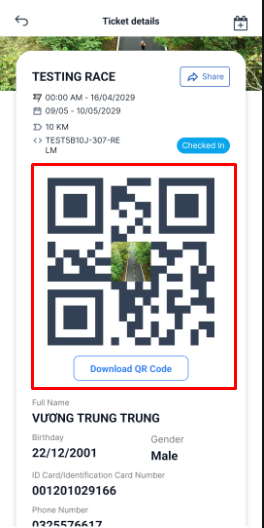
Step 6: Return to the screen and check your QR code by going to the ticket list, selecting the Checked-in section, and clicking [View QR].
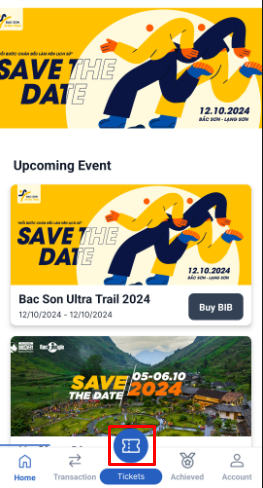
Step 1: On the [Homepage] tab, select the button as shown to view the list of owned tickets.
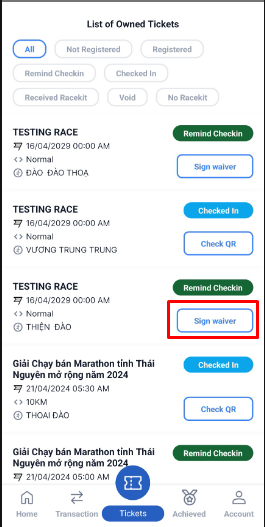
Step 2: In the list of owned tickets, click on [Sign Waiver] for the ticket you want to check in.
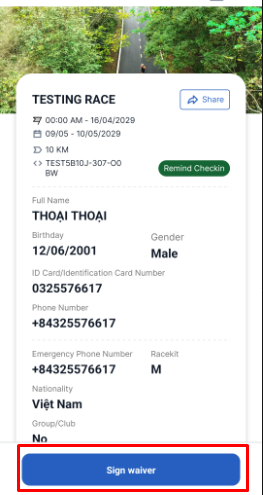
Step 3: Confirm the registered information and click [Confirm] to continue.
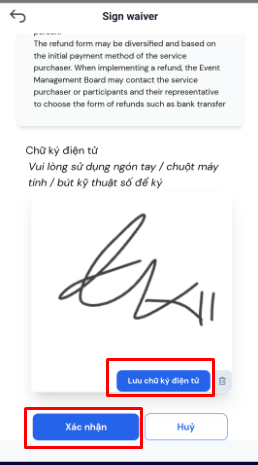
Step 4: Read the terms of the agreement carefully and agree to them. Use a mouse/finger/stylus to sign. Select [Save Signature], then [Confirm] to complete.
Step 5: Return to the app and check your QR code.